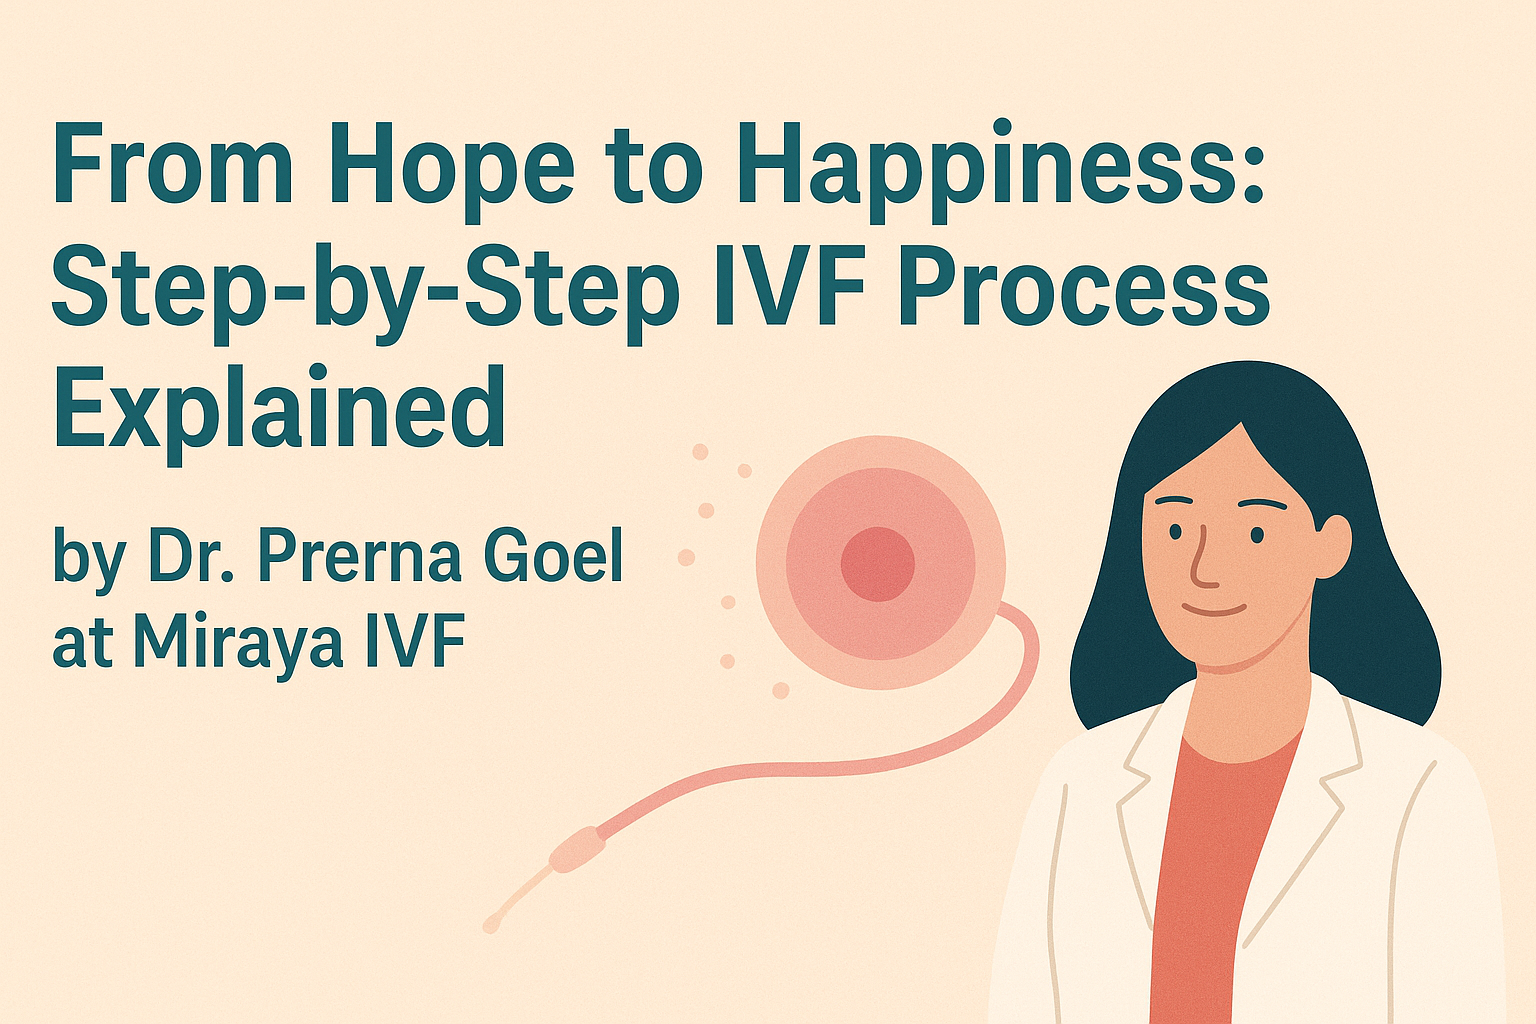
IVF (In Vitro Fertilization) is one of the most successful assisted reproductive technologies for couples struggling to conceive. While it may sound complex, with the right guidance and personalized care, the procedure becomes easier and more emotionally manageable. In this blog, fertility specialist Dr. Prerna Goel from Miraya IVF breaks down the IVF process step by step.
Step 1: Initial Consultation & Fertility Assessment
Your IVF journey starts with a comprehensive evaluation conducted by Dr. Goel including:
- Hormone tests (AMH, FSH, LH)
- Semen analysis
- Pelvic ultrasound
- Lifestyle and medical history assessment
Based on this, she designs a personalised IVF protocol.
Step 2: Ovarian Stimulation
The woman receives hormonal injections for 8–12 days to stimulate multiple follicles. During this phase:
- Regular ultrasound monitoring
- Blood tests
- Adjustment of medication dosage if needed
Aim → produce multiple mature eggs.
Step 3: Egg Retrieval
Once follicles are ready, a trigger injection is given. After 34–36 hours:
- Egg retrieval is done under mild anesthesia
- Takes 20–30 minutes
- No scars or pain post-procedure
Step 4: Fertilization
Collected eggs are combined with sperm in an advanced embryology lab. According to condition, either IVF or ICSI (Intracytoplasmic sperm injection) is used.
Step 5: Embryo Culturing & Grading
Embryos are monitored for 3–5 days. Only the best quality embryos are chosen for transfer.
Step 6: Embryo Transfer
A painless and quick procedure. Usually a single embryo is transferred. Remaining good embryos are frozen for future use.
Step 7: Luteal Support & Pregnancy Test
Hormonal support continues for 14 days post-transfer. Pregnancy is confirmed through β-hCG blood test.